Welcome to My New Build Series
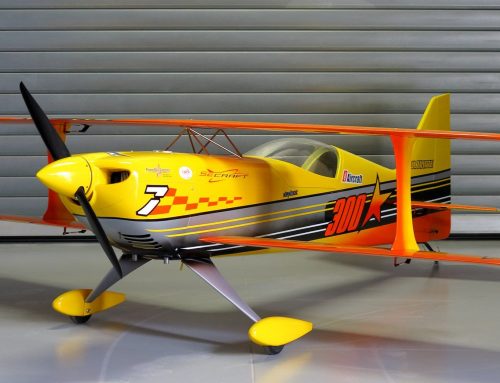
Welcome back to the blog! Today marks the beginning of an exciting new build series that I’ve been looking forward to for quite some time. For those of you who follow me on Facebook or YouTube, you’ll know I’ve been dropping hints about this model for the past couple of months. The wait is finally over – I’m building the Extreme Flight Extra 260 in the 88-inch version.
I already own the smaller version of this aircraft, which runs a fantastic T-Motor electric setup. This time, however, we’re going petrol. I’m particularly interested to see whether the 88-inch version will exhibit the same flight characteristics as its smaller sibling. This first video covers the unboxing and my planned equipment setup. In the next instalment, we’ll dive into the build itself, followed by the maiden flight and some spin-off videos covering specific equipment configuration.
Unboxing the Beast
Before I begin, a massive shout out to Aerbertics in Belgium – particularly Bert – for supplying this model. I really appreciate your support, and I’d encourage everyone to check out their website (link in the description).
First Impressions
The packaging, as always with these models, is incredibly secure. Everything is glued and taped in place, which makes perfect sense considering these kits are shipped worldwide. As I start unpacking, I’m immediately impressed by how well everything is protected.
The Wing Panels
The first major component out is a wing panel, and I’m struck by how light it is. Having just been working on a jet build (link in the description if you’re interested), the contrast is remarkable. That jet has heavy wings due to the different construction, retracts, and multiple servos. This Extra 260 wing, by comparison, is feather-light.
I’ve chosen exactly the same colour scheme as my smaller Extra 260, which I’m really pleased about. Some nice details I’m noticing:
- All surfaces come pre-hinged with plenty of hinge points
- The hinge gaps are covered, which is a lovely touch
- The control horns now come pre-installed and painted to match – a welcome improvement on newer versions
- There’s tons of control surface movement, exactly what you’d expect from a 3D aerobatic aircraft
More Components
Continuing through the box, I find wing and canopy covers (always appreciated), followed by the impressively large rudder. This is only the 88-inch version – a friend of mine has the 102 or 104-inch model, and I’m looking forward to getting them together in the summer for some formation flying.
The rudder features a pin at the top that runs through the hinge line, creating a quick-release system – very handy for transport and storage.
Inside the wing bag, there are thoughtfully designed slots: one in the middle to divide the two wing panels, plus dedicated slots for the wing tube, side force generators (SFGs), and the supporting carbon fibre rod. I probably won’t be using SFGs initially, but we’ll discuss that in more detail during the flying videos.
Decals and Documentation
There’s an impressive selection of stickers included, including GP76 engine decals. Some might get used, though I do have a specific graphics scheme in mind, which I’ll reveal when we look at the components.
The Fuselage and Stabilisers
After extracting the carbon fibre wing tube – super light as you’d expect – I finally reach the fuselage, which also has its own canopy cover. The horizontal stabilisers are incredibly impressive. They’re essentially all elevator, absolutely massive, with laminated carbon fibre end plates. Each one has a small removable wood piece for servo installation, and once again, the control horns come pre-installed and painted. The hinge line is sealed, and there’s a generous slot for the control arms.
Additional Hardware
The box contains several more items:
- A fibreglass vent that mounts inside the cowling to direct cooling air onto the engine
- Wheel pants
- Various formers, including ones for underneath the aircraft to allow exhaust routing
- A comprehensive hardware pack with everything clearly labelled
- Large wheels appropriate for the size
- Side force generators
- Three carbon fibre tubes (for the wing and stabilisers)
- Spare covering material – a thoughtful inclusion
- Carbon fibre undercarriage
- What appears to be a cowling template for marking out exhaust and other required holes
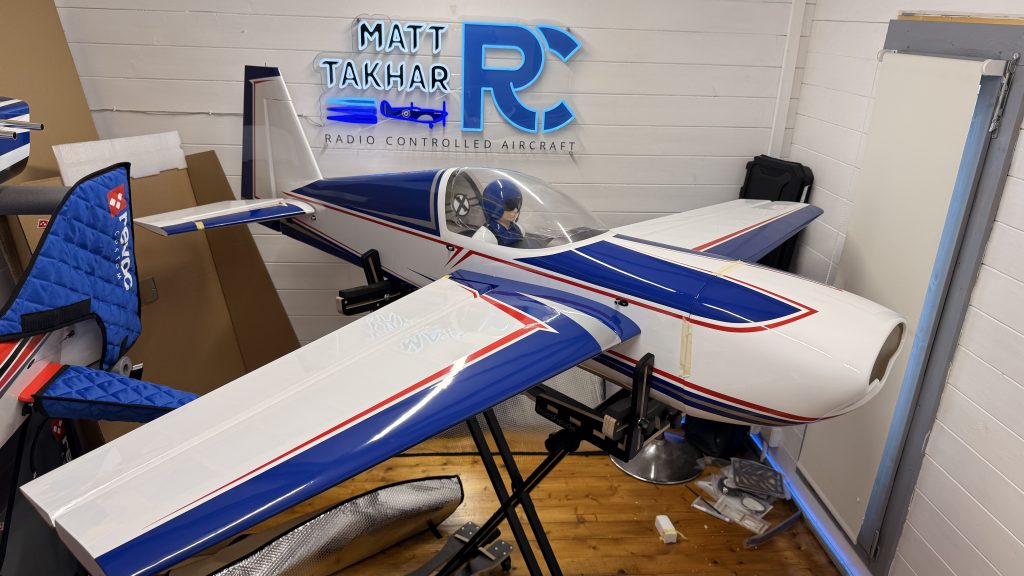
The Fuselage Revealed
Finally extracting the fuselage, I’m immediately impressed. It feels substantial despite the 88-inch size – perhaps because I’ve been flying the smaller version for so long. Key features include:
- Quick-release mechanisms front and rear
- Pre-installed pilot figure (which I didn’t realise was included)
- Extreme Flight logo on the pilot’s back
- A scale cockpit schedule on the instrument panel
- Pre-marked mounting positions for XPower 60cc, DA70, or GP76 engines
Putting It Together for a Preview
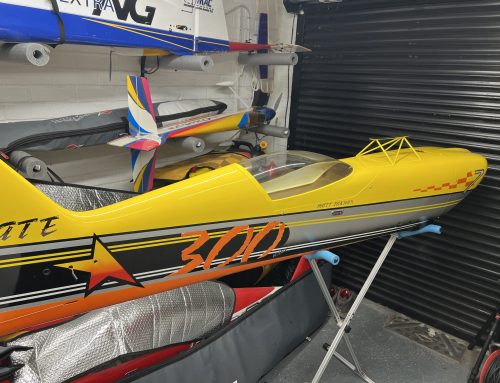
Just to give you an idea of what the completed model will look like, I’ve temporarily assembled it with wings, horizontal stabilisers, rudder, and cowling. I’m absolutely thrilled with it. The only minor issue is that one of the horizontal stabilisers needs a small adjustment to the screws that help it slot in and out, but that’s easily sorted during the proper build.
The lines are gorgeous, and I can’t wait to see it with the graphics I have planned. The quick-release rudder system is straightforward – it will screw down flush when properly installed. Inside the canopy area, there are now aluminium inserts (I believe they used to be carbon pods), and I can see foam insulation in the pipe tunnel.
The wing quick-release system is clever: when the mechanisms are unlocked and up, a spike rises that prevents you from fitting the canopy. This means you physically cannot fly with the quick-release in the wrong position, eliminating the risk of a wing detaching in flight.
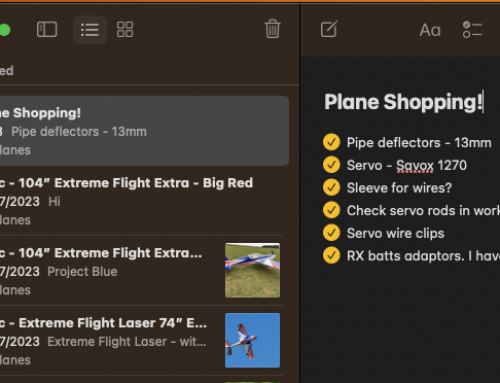
The Planned Equipment Setup
Now for the exciting part – let’s discuss what’s going inside this beautiful airframe.
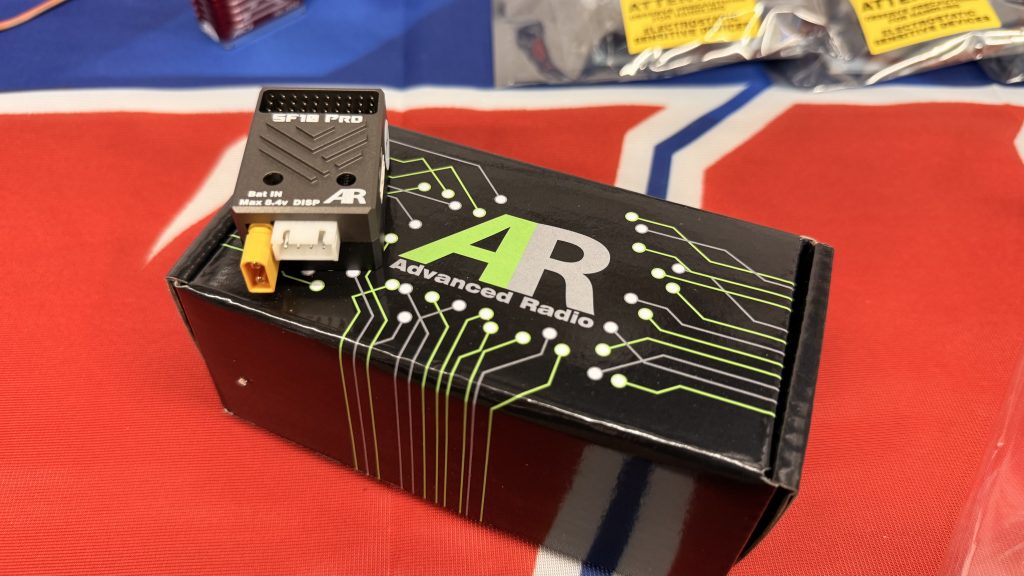
Radio and Gyro System
I’ll be flying with the Advanced Radio Smooth Flight 10 Pro gyro system. I’m planning a separate video covering the setup, configuration, and my thoughts on this unit. I know fitting a gyro to an aerobatic aircraft like this might be controversial, and I’ll address why I’ve made this choice in that dedicated video.
The radio itself will be my standard Futaba T26SZ, and I’ll be using dual receivers in this model for redundancy.
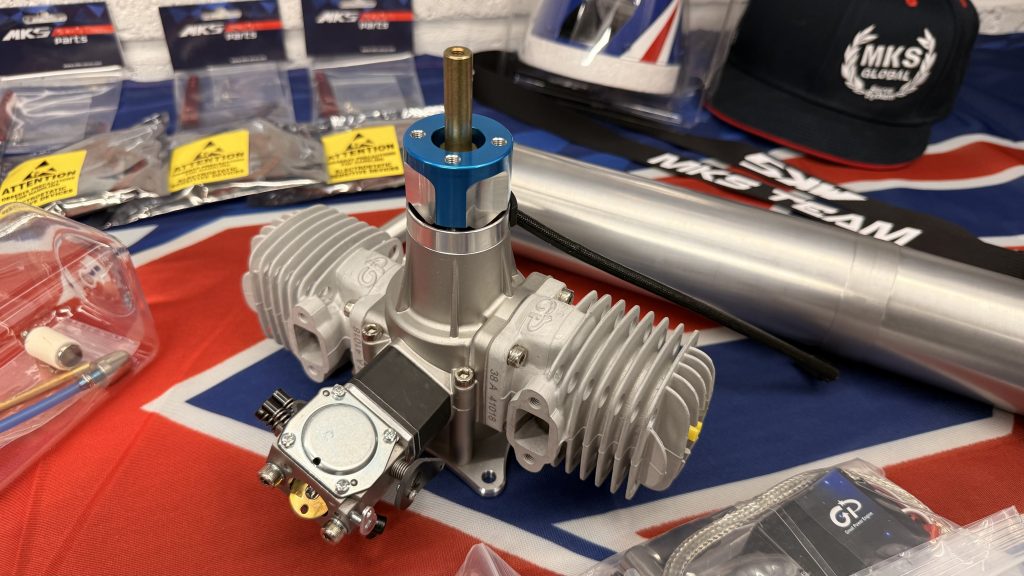
Power System
The heart of this build is a GP76 petrol engine – another item kindly supplied by Aer0batx (thanks Clive and Mandy!). This is a beautiful piece of kit, and I’m intrigued to see how the petrol setup compares to the electric system in my smaller Extra 260.
The electric version has abundant power and can really pull out of a vertical, especially when prop hanging – you can escape danger simply by opening the throttle. Flying petrol will be a different experience, but I’m excited to see what this powerful engine can do in such a lightweight airframe.
The exhaust system will be a KS two-into-one header pipe feeding into a single canister. It’s high quality and should be reasonably quiet – an important consideration for where I fly at the Field of Dreams. I’m confident we’ll still get plenty of power whilst being neighbourly.
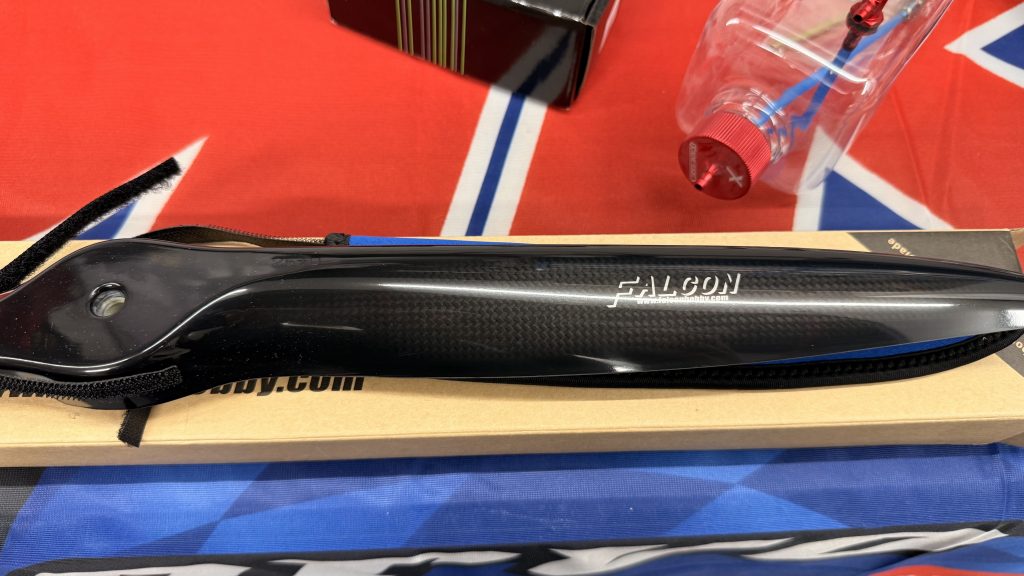
Propeller
A huge thank you to Martin Thompson at Prop Guy for sending me a Falcon carbon fibre propeller for this model. It arrived beautifully packaged and protected, ready for installation.
Graphics Package
In my opinion, it’s important to add some visual appeal to set your model apart. I quite like graphics rather than plain schemes. I’ll be applying a B&E Graphix set featuring the Patty Wagstaff Red Baron scale scheme. There are quite a lot of graphics in this set, and if there’s interest, I might do a separate video showing how to apply them properly (I’ve done one before that was quite popular). Let me know in the comments if you’d like to see that, and I’ll include a link to B&E Graphics in the description.
Servos – Something New
This is where I need to make a confession. The entire model will be running on MKS servos, which I’ve never used before. I’ll be doing a separate review video as a spin-off from this series, sharing my thoughts after putting some flights on the model.
I’m slightly embarrassed because I’ve had this box of MKS goodies for probably the best part of a year. 2024 was a complete write-off for me for various reasons – the hobby had to take a back seat whilst I dealt with some messy personal situations. So first of all, my apologies to MKS for the delay, but these servos are now going into an incredible model, and you will get a proper review.
This is a sponsored package from MKS – I didn’t pay for these servos. However, regardless of that, I’ll be giving you my completely unbiased thoughts in the review video.
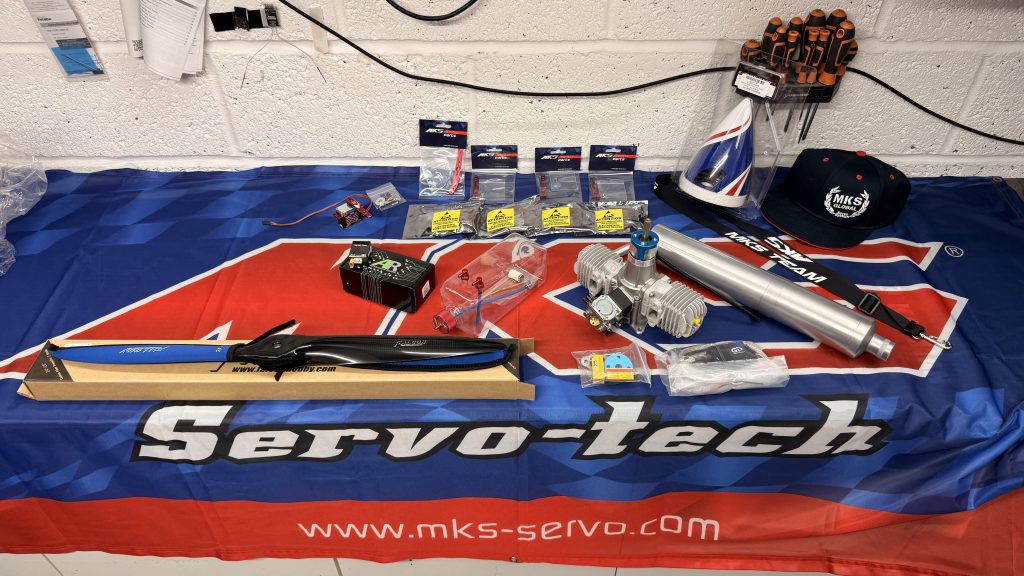
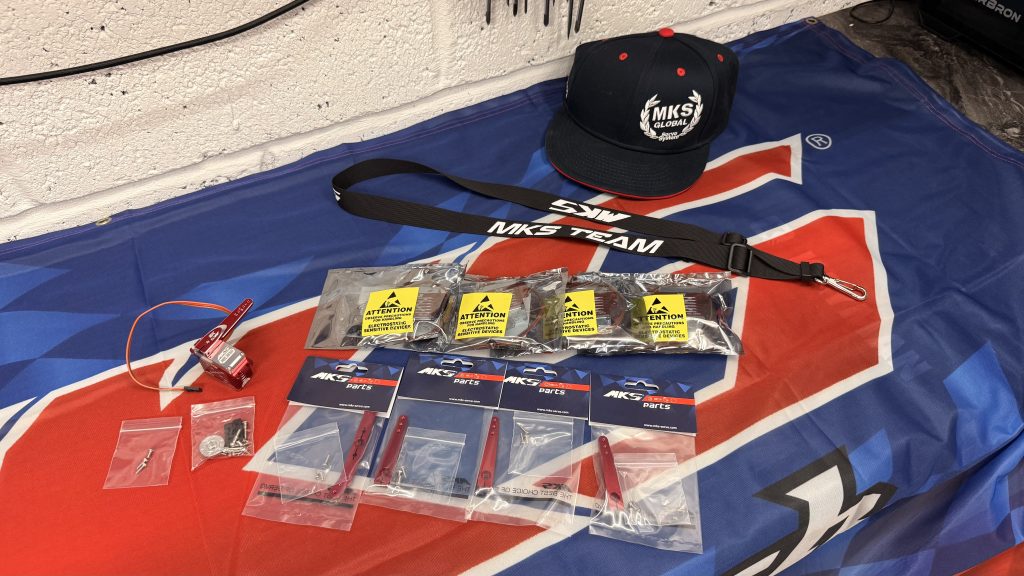
What’s in the MKS Box
Opening up the MKS package, I find:
- A selection of funky stickers (some will definitely be going on the model)
- Very nice aluminium servo arms, which I believe are the same tooth count as Futaba (I need to verify this)
- The arms are secured by both a bolt on top and a bolt through the side
- A large servo arm for the rudder if I decide to go with a pull-pull setup
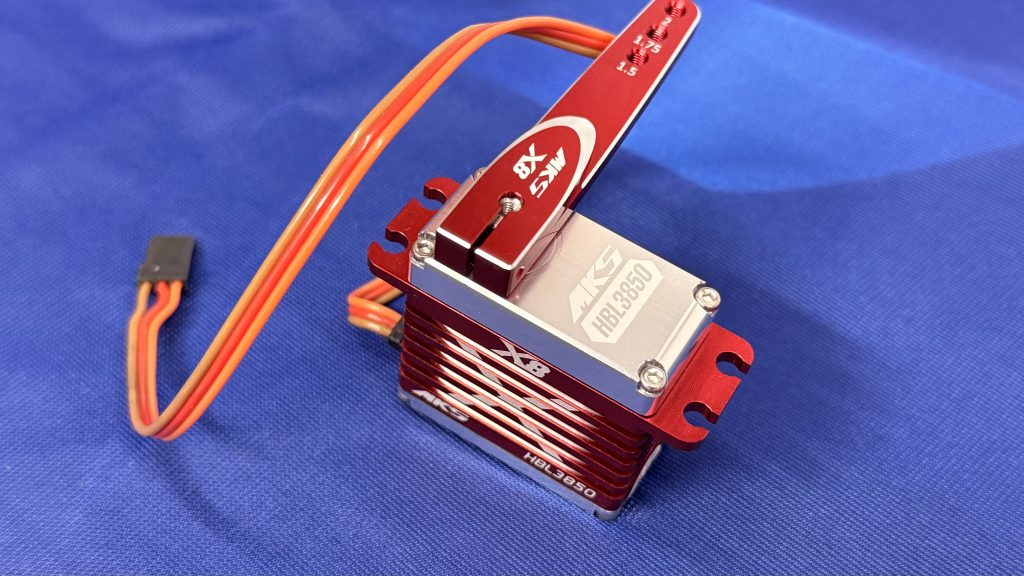
- Five HBL 3850 servos
I’m actually one servo short for the throttle, as when I originally requested these, I was probably thinking about an electric setup. Now that I’m going petrol, I might use something different on the throttle servo – it’s not quite as critical as the flight control surfaces.
These servos are apparently very popular in America but harder to source in the UK. I’m not sure who the UK supplier is, but I’ll find out more information for the review video.
MKS also very kindly included a neck strap, a rather smart t-shirt celebrating their 25th anniversary (which I can finally start wearing now that the video is out!), and an MKS banner that needs to find a home in the workshop.
What’s Next?
That wraps up post number one of this build series. I’m genuinely excited to crack on with the assembly so I can get the next video and post out to you as soon as possible. We’ll be diving into the build itself, installing all this equipment, and getting this stunning aircraft ready for its maiden flight.
Thanks for reading, and I’ll see you in the next one!